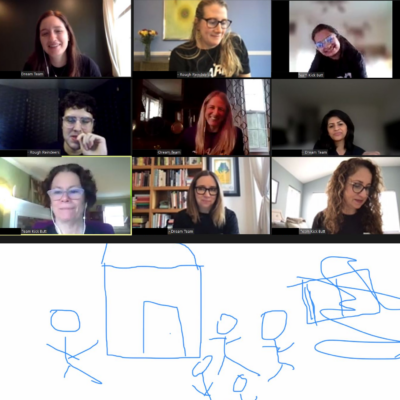
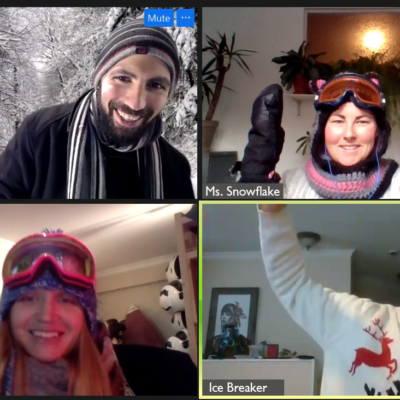
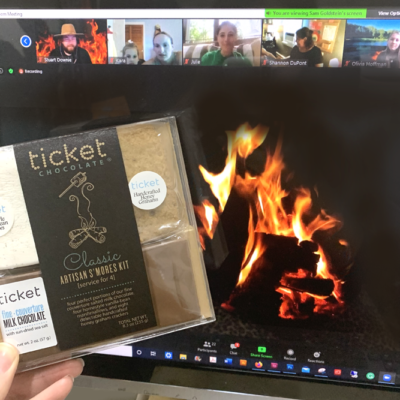
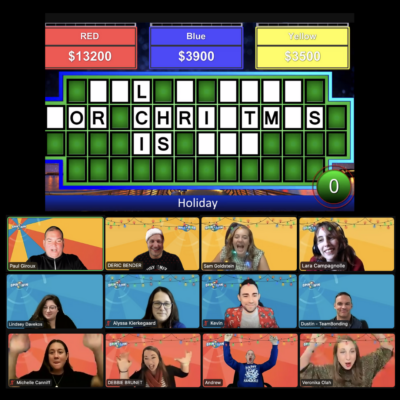
Virtual holiday team building activities
Planning virtual holiday parties can be challenging, but we’ve got the festive sparkle to ensure a jolly good time! Choose from our fully facilitated experiences like holiday Zoom game shows, themed trivia, give-back activities, and delicious tastings, and we’ll handle all the details. Let’s celebrate the magic of the season with our virtual holiday events!
Sort


FAQ: Virtual Holiday Team Building
What is a virtual holiday party?
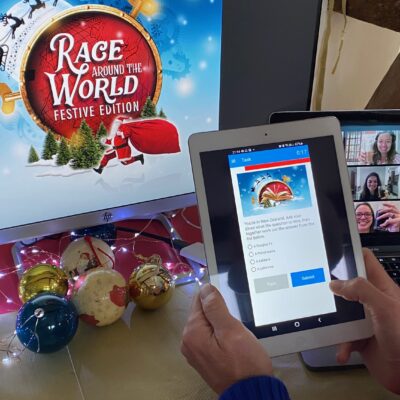
Virtual holiday parties are games and activities that are played via online platforms, such as Zoom. They provide fun, enjoyment, and camaraderie for participants, celebrating various holidays throughout the year. The activities are themed to different holidays, and they are designed to be enjoyed remotely, with all team members participating via video. Best of all, there are numerous Zoom holiday party ideas to choose from, ensuring that your remote team can celebrate their preferred holidays together.
Why are holiday-themed virtual team building activities important?
Hosted virtual holiday parties for companies enable team members to communicate, collaborate, and enhance their skills. Not only do they bring holiday cheer to employees, but also they can boost productivity and employee morale in the workplace. Zoom holiday games also connect employees who live in various locations. They’re a great alternative for those who cannot meet in person.
What are the benefits of virtual holiday team building activities?
There are numerous benefits to hosting a virtual holiday party for corporate employees. For example, they let workers bond with other colleagues; participants can learn more about each other, which can translate to a happier and more productive work environment. Additionally, holiday team building activities that are virtual are fun to play during the dead of winter and can boost team spirit. Best of all, you don’t have to deal with the cold or snow.
What makes TeamBonding a preferred choice for your virtual holiday party?
TeamBonding has been providing activities and events for companies of all sizes for over 25 years. We have extensive experience working with businesses across various industries, and we are dedicated to celebrating a wide range of holidays. Moreover, our skilled team can accommodate locations anywhere in the U.S. Our goal is to alleviate the stress of event planning for you and ensure your team has a fantastic time during holiday events, no matter which holidays you celebrate. Let us help you select the perfect virtual holiday team building activities for your team, whether you have a group of 20 or 100. Aside from our virtual holiday events, we also offer hybrid and in-person events, making sure we can accommodate your holiday celebration preferences.
Let's talk.
For more than 25 years, we’ve been helping teams like yours enhance open communication and build team camaraderie. If you want to rekindle the bonds your team once shared, or you’re assembling a new virtual team for the post-pandemic world, we are here to help.
